

The Ultimate DIY Guide: Step-by-Step Assembly of a Precision Level Meter
What Is a Level Meter and Why Is It Important?
A level meter is a vital device employed to measure the height or amount of a material—usually a liquid or solid—inside a vessel or setup. These tools are crucial in numerous sectors like chemical production, water purification, petroleum and natural gas, and food manufacturing. Their main function is to maintain safety, productivity, and process management by constantly tracking substance levels and warning workers about possible spills or deficits.
How Does a Level Meter Work?
Level meters function using various methods, such as capacitive, ultrasonic, and magnetostrictive detection. These detectors identify the existence or lack of material by analyzing shifts in capacitance, echo from sound waves, or shifts in magnetic fields. The gathered information is transformed into understandable signals that can be shown or sent for oversight and regulation needs.
What Are the Key Components of a Precision Level Meter?
A precision level meter consists of multiple linked parts that collaborate to deliver precise readings.
Sensor Unit
The sensor is the central element in charge of spotting material levels. Capacitive sensors assess alterations in dielectric constant. Ultrasonic sensors employ sound waves. Magnetostrictive sensors notice position shifts in magnetic floats.
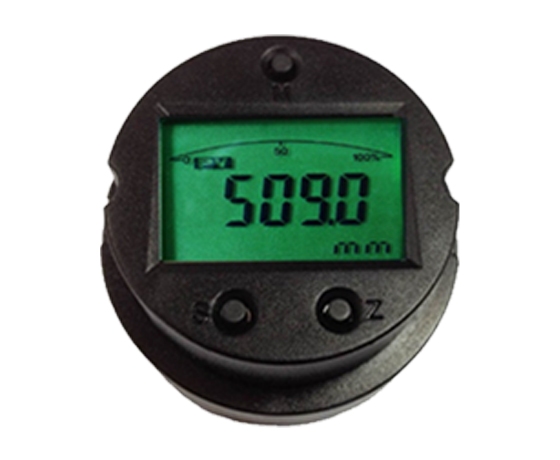
Display Module
The display module offers immediate data presentation. It usually features an LCD screen that displays factors like level height, temperature, and signal intensity. Sophisticated displays might allow 360° rotation for adaptable setup.
Power Supply and Circuitry
Level meters need a steady DC power supply, often between 9V and 32V. Inner circuitry comprises signal handling units, microcontrollers, and output connections that change sensor data into practical formats such as 4-20mA current signals or digital exchange protocols.
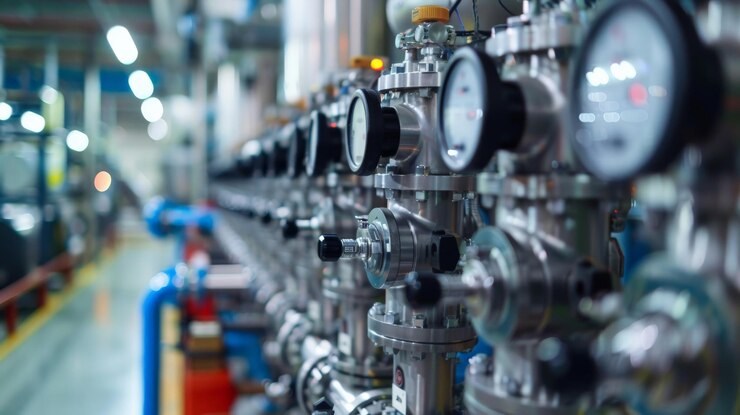
Where Are Level Meters Commonly Used?
Level meters are extensively applied in fields like oil, drugs, food handling, sewage control, and chemical design. They are essential for uses involving storage reservoirs, blending containers, and conduit networks, guaranteeing operational security and legal adherence.
What Tools and Materials Do You Need for Assembly?
Which Basic Tools Are Required for DIY Assembly?
To put together a precision level meter at home or in a lab, you’ll need the following tools:
Screwdrivers (Phillips and flathead)
Soldering iron and solder
Wire cutters and strippers
Multimeter for electrical testing
Heat shrink tubing and heat gun
Drill and mounting brackets (optional)
What Electronic Components Should You Prepare?
Microcontroller or Control Unit
A microcontroller like Arduino or Raspberry Pi serves as the core of the system. It handles sensor inputs and manages output screens or alerts.
Sensor Probe
Select a sensor according to your needs. Capacitive sensors work well for non-touch measurements. Magnetostrictive probes provide top accuracy for professional applications.
Wiring and Connectors
Employ quality wires, connectors, and terminal blocks to guarantee dependable signal transfer and energy supply.
Enclosure and Mounting Accessories
Shield your electronics with a waterproof or dustproof case. Mounting brackets assist in fixing the sensor securely within tanks or vessels.
How to Assemble a Precision Level Meter Step by Step?
How Do You Begin the Assembly Process Safely?
Begin by cutting off all power supplies. Put on anti-static bands to safeguard delicate parts. Arrange your work area and confirm all tools and elements are ready.
How to Connect the Sensor to the Control Circuit?
Solder the sensor’s output cables to the matching input pins on your microcontroller. Make sure of correct polarity and add resistors if needed for signal adjustment. Fasten links with heat shrink tubing.
How to Calibrate the Sensor for Accurate Readings?
Utilize onboard switches or software programs to establish calibration spots. For instance, span and zero figures can be set with fluid examples at recognized heights. Certain sensors provide multi-point calibration for better precision.
How to Test and Troubleshoot Your Assembled Device?
Activate the system and check that the display presents steady readings. Employ a multimeter to examine voltage amounts and signal outputs. If readings vary, review solder connections, verify calibration again, and experiment with various liquid levels.
What Is ICwalk and How Does Its Level Transmitter Board Enhance Your DIY Project?
Who Is ICwalk and What Do They Offer?
ICwalk transmitter boards are relied on by more than 800 instrument makers in China, with broad on-site testing. Our items meet worldwide norms, assuring effortless merging and simple shipment abroad. We focus on supplying superior level transmitter boards that handle different sensor kinds, including capacitive, ultrasonic, and magnetostrictive approaches.
What Makes the ICwalk Level Transmitter Board Ideal for DIY Projects?
Compact Design with High Integration
The H509 now uses a capacitive measurement setup, with a measurement span of 50PF to 5000PF and a resolution of 0.002PF. This small but strong board is perfect for DIY arrangements with limited room.
Easy-to-Use Interface for Hobbyists and Engineers
It includes a full three-button onsite calibration option (works with two-button mode and backs reed switches). This allows tasks like span, zeroing, damping, and data restoration.
Reliable Signal Conversion for Accurate Readings
Output 4 ~ 20mA signal output with HART (2-wire). This guarantees compatibility with most industrial controllers and DIY microcontroller platforms.
How to Integrate the Level Transmitter Board with Your DIY System?
What Are the Wiring Steps for Connecting the Board?
Link the sensor’s signal cable to the input port on our transmitter board. Next, connect the board’s output ports to your microcontroller’s analog input or an outside display unit. Confirm power supply stays in the backed range of 9V–32V DC.
How to Configure Output Signals from the Transmitter Board?
Employ our integrated setup software or onboard switches to define settings like damping element, unit choice (mm/inch), zero shift, and full-scale span. The calibration spots can range from 2 to 15.
Can You Use This Board with Arduino or Raspberry Pi?
Yes. Our boards back standard analog output (4-20mA) which can be read without difficulty using current-to-voltage changers with Arduino or Raspberry Pi ADC units. Digital exchange protocols like HART can also be merged using suitable shields or USB links.
Ensuring Accuracy: Calibration and Environmental Considerations
Why Is Calibration Crucial in Level Measurement Systems?
Calibration matches sensor output to known benchmark levels. It guarantees precise readings over various substances or tank shapes. Weak calibration causes ongoing mistakes that harm safety and productivity.
How Do Temperature and Humidity Affect Readings?
Factors in the surroundings like temperature changes can modify dielectric constants in capacitive sensors or sound speed in ultrasonic setups. Included sound velocity temperature adjustment maintains precision through diverse temperatures.
What Are Common Sources of Error in DIY Liquid Level Meters?
Typical problems involve electrical interference from bad grounding, wrong sensor positioning leading to fake echoes, or employing mismatched materials that disrupt detection methods.
Maintenance Tips for Long-Term Performance
How Often Should You Inspect Your System?
Carry out monthly visual checks for bodily harm or rust. Recalibrate every three months if applied in changing surroundings or following software updates.
What Cleaning Methods Are Safe for Sensors and Boards?
Apply isopropyl alcohol cloths for wiping sensor areas. Steer clear of water contact unless parts are rated IP65 or higher. Employ compressed air for clearing dust from circuit boards.

FAQ
Q: What is the difference between a level meter and a level transmitter board?
A: A level meter is a complete instrument including sensor, display, power supply, and housing; a level transmitter board is an internal component that processes sensor signals into readable outputs for integration into larger systems.
Q: Can I build a precision level meter without programming knowledge?
A: Yes. With user-friendly flow transmitter boards like ours featuring button-based calibration and analog outputs, no programming is required for basic functionality.
Q: Is it possible to transition this DIY level measurement system from lab/home use to industrial deployment in the future?
A: Absolutely. Our products match global standards, ensuring smooth integration and easy export. You can scale your system using our modular solutions designed for industrial automation environments.
Related Posts
-
What Role Does a Universal Temperature Transmitter Play in Heat Treatment?
June 12,2025
-
How Can TT Temperature Transmitters Improve Process Control in Heat Treatments?
May 29,2025
-
How Do TT Transmitters Optimize Temperature Monitoring Systems?
May 22,2025
-
What Are the Advantages of Using a Two-Wire Transmitter for RTD?
June 05,2025


